CosmWasm IDE Tutorial

Steps
1. Setting up the CosmWasm IDE development environment
To setup your workspace with all the neccessary tools & libraries for developing the CosmWasm smart contracts, please click button Open in Gitpod below. Gitpod will automatically install everything you need to deploy a smart contract.

2. Create a smart contract project (optional).
After your workspace is ready, follow the next steps.
You can use the command below to get a CosmWasm scaffold project
cd package/ && git clone https://github.com/oraichain/oraiwasm_scaffold.git && cd -
3. Choose an arbitrary file in the project.
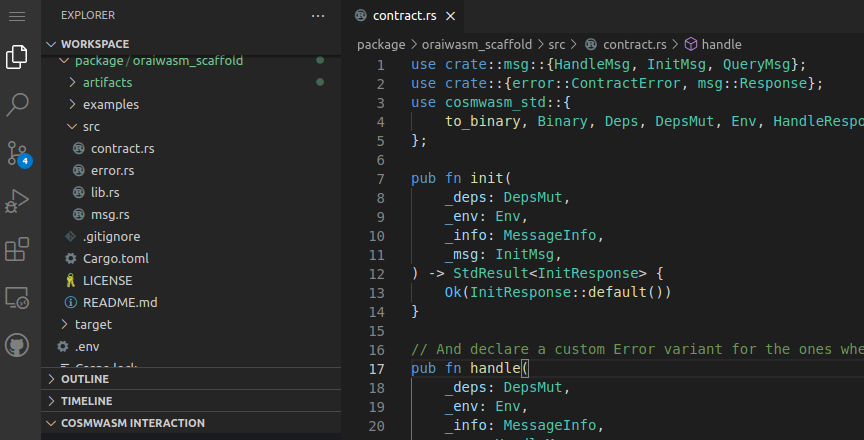
4. Use VSCode CosmWasm extension to build, deploy, and interact with the smart contract.
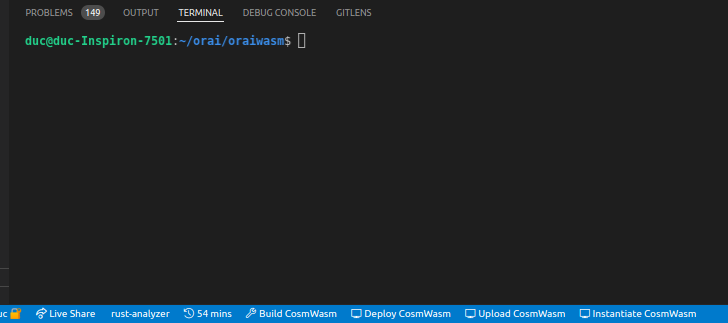
The extension provides four custom VS Code buttons: Build CosmWasm, Deploy CosmWasm, Upload CosmWasm and Instantiate CosmWasm under the status bar of Vs Code and a CosmWasm IDE Explorer under the Explorer tab of VS Code.
Build CosmWasmbutton will build the smart contract to the .wasm file based on the file you open in VS Code.Deploy Cosmwasmbutton will deploy your contract onto a network that you choose on the CosmWasm IDE explorer.Upload CosmWasmbutton will upload your smart contract code.Instantiate CosmWasmbutton will instantiate your smart contract given a code id.
Please note that the IDE will read all the json schemas of a project from the location ${project_root_path}/artifacts/schema or ${project_root_path}/schema.
As a result, if the schemas are in a different location, the IDE will not be able to move to the next page.
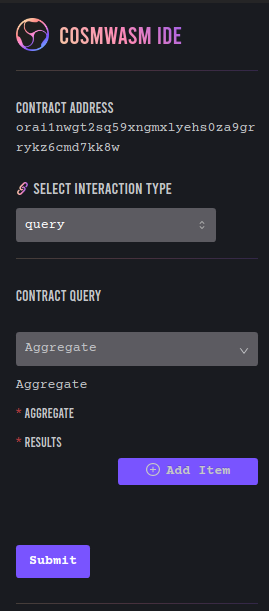
5. Interacting with the IDE webview
After deploying or instantiating, the webview will display the deployed contract address & two interaction options: Execute & Query. You can freely play with it to suit your needs.